
Ceiling Painting Tips for a Fresh New Look | Omaha Painters
Tips for Painting a Ceiling for a New Look
Refreshing your ceiling with a new coat of paint is one of the most effective and affordable ways to brighten and modernize your home. While homeowners often focus on walls, trim, and décor, ceilings play an equally important role in creating a clean, inviting atmosphere. Omaha Painters has helped homeowners throughout the Omaha area transform their interiors, and this guide breaks down the essential steps, best practices, and professional insights you need to achieve a flawless ceiling makeover on your own.
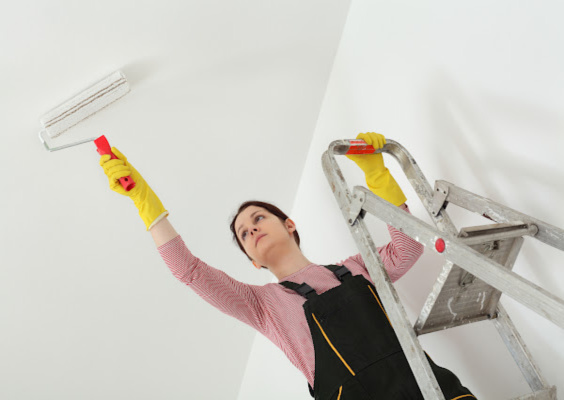
Why Ceiling Painting Matters
Ceilings naturally collect shadows, stains, smoke residue, dust, and imperfections over time. Because they’re out of your direct line of sight, you may not notice how much they dull your home’s overall brightness—until a fresh coat reveals the difference. A newly painted ceiling can make a room feel larger, cleaner, and more cohesive. Whether you’re tackling a dated popcorn surface, refreshing a flat white ceiling, or adding a subtle accent color, the right technique can dramatically elevate your space.
Tools and Materials Needed
Before you begin, gather the right supplies to ensure a smooth, efficient project:
• High-quality ceiling paint (usually flat or matte)
• Primer (especially important for stained or patched ceilings)
• Extension pole for your roller
• 9- or 18-inch roller with a thick nap
• Angled paintbrush
• Paint tray and liners
• Drop cloths or plastic sheeting
• Painter’s tape
• Ladder
• Sanding sponge or pole sander
• Safety glasses and a hat (trust us—you’ll be glad you have them)
Having the proper tools makes the work faster, cleaner, and more professional-looking.
Step-by-Step Guide to Painting Your Ceiling
1. Prep Your Room Properly
Preparation is the foundation of any successful paint job. Remove as much furniture as possible or push it to the center and cover it with plastic. Lay drop cloths across the floor and tape off crown molding, fixtures, smoke detectors, and vents. Next, inspect the ceiling for cracks, nail pops, or water stains. Repair imperfections with patching compound and spot-prime any stains to prevent bleed-through. A quick sanding will smooth the surface and help the paint adhere better.
2. Prime if Necessary
If your ceiling is stained, repaired, or hasn’t been painted in over a decade, primer is a must. Primer creates a uniform surface and ensures the topcoat looks bright and even. For ceilings with smoke or water discoloration, a stain-blocking primer will prevent yellowing later.
3. Cut In the Edges
Use an angled brush to “cut in” a 3- to 4-inch border around the ceiling’s perimeter. This creates a crisp frame and makes roller application easier. Work carefully to avoid drips and to maintain a wet edge, which prevents visible lines once the roller takes over.
4. Roll the Ceiling Using the Right Pattern
Attach your roller to an extension pole so you can maintain steady pressure and minimize neck strain. Start rolling in straight, parallel lines. After completing a section, roll lightly back across it in the opposite direction to smooth the finish—this technique is known as cross-rolling. Work quickly enough that the edges stay wet, helping all areas blend seamlessly.
5. Let the First Coat Dry Fully
Ceilings typically require at least two coats. Allow the first coat to dry thoroughly (time varies based on paint type and humidity). Once dry, inspect for missed spots or uneven areas.
6. Apply the Second Coat
Repeat the same pattern and technique. The second coat provides complete coverage, consistent color, and the clean, bright look you’re aiming for.
Common Mistakes to Avoid
• Using wall paint instead of ceiling paint (ceiling paint is thicker and splatters less)
• Skipping primer on stained surfaces
• Painting in poor lighting
• Not maintaining a wet edge
• Overloading the roller, causing drips and texture inconsistencies
Avoiding these pitfalls keeps your finish smooth and professional.
When to Call Omaha Painters
Painting a ceiling can be physically demanding, especially in rooms with high or vaulted ceilings. If you’re concerned about safety, time, or achieving a perfect finish, Omaha Painters is here to help. Our experienced team handles everything from prep to cleanup, ensuring your Omaha home looks its best with lasting, high-quality results.